
How to Sharpen Kitchen Knives With a Whetstone, Step by Step
October 13, 2026 · By Matt
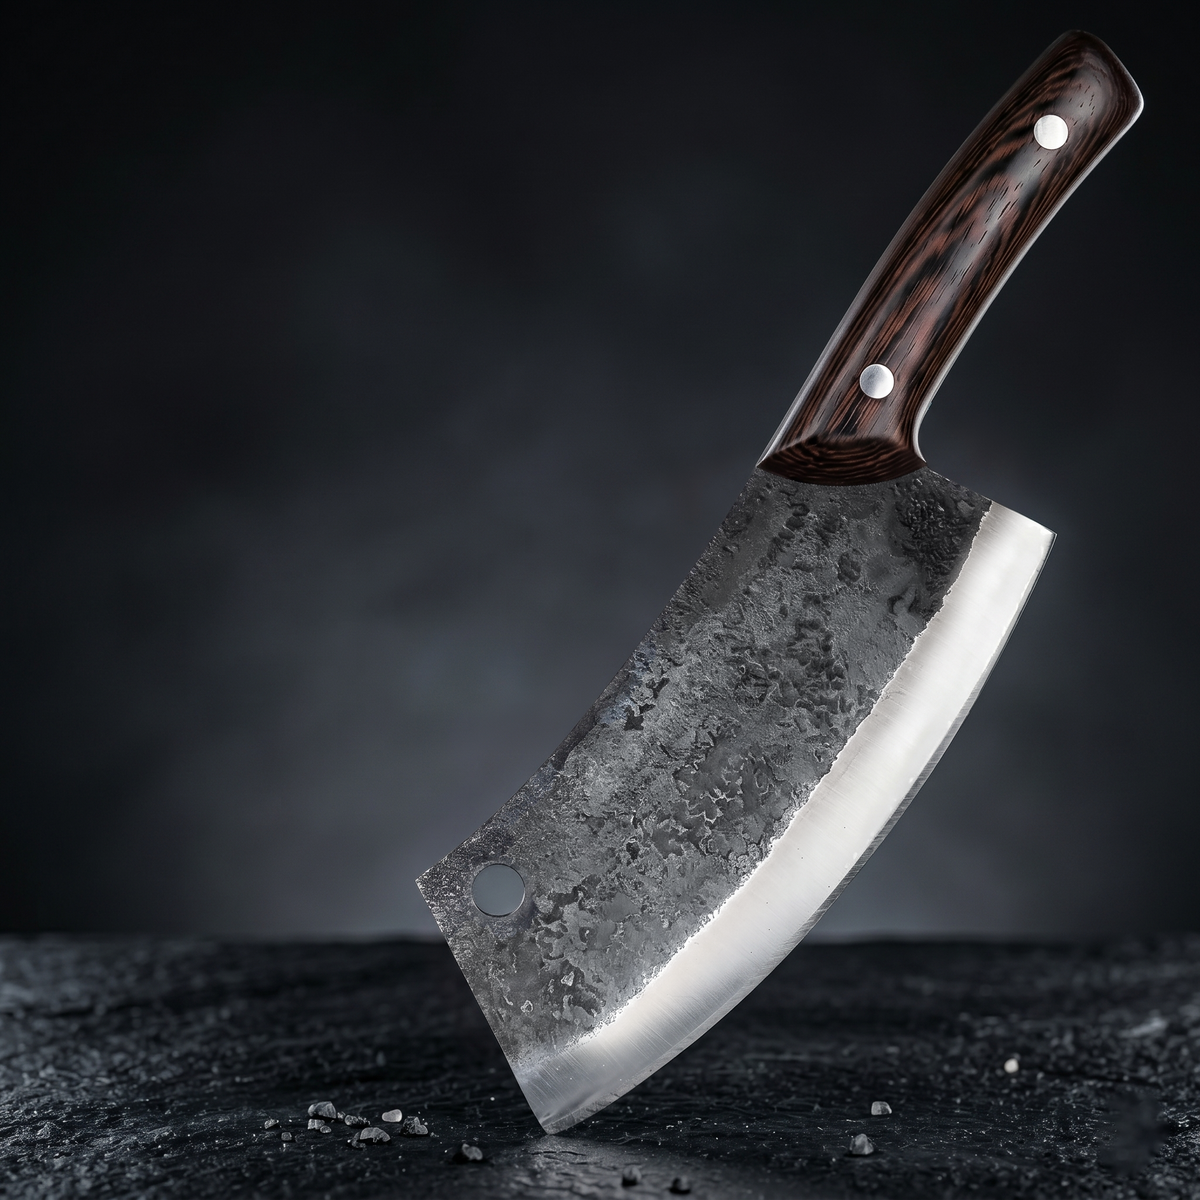
To sharpen kitchen knives with a whetstone, find the angle of the bevel already on the blade, hold it steady on a medium stone and push the edge across until a burr forms along the whole length. Flip the knife, raise a burr on the other side, refine both sides on a fine stone, strip the burr with a few light alternating strokes and test the edge on a sheet of paper.
Most kitchen knives are not dull because the steel gave up. They are dull because nobody has touched them with a stone since the box came off. A whetstone fixes that in about ten minutes, and it does not eat the blade while doing it. This guide covers the stone, the angle, the method, how to tell when you are done, and what changes when the knife is a tall Serbian chef knife or a cleaver.
What Grit Whetstone Do You Need for Kitchen Knives?
One combination stone does most of the work. The medium side, often sold as something around 1000 grit, cuts fast enough to raise a burr on a dull edge. The fine side, usually several thousand grit, takes the scratches out and leaves an edge that slides through food instead of tearing it. A coarse stone in the low hundreds is only worth owning if you need to grind out a chip or reset a wrecked edge, and it spends the rest of the year in a drawer.
| Tool | Typical grit | What it does |
|---|---|---|
| Coarse stone | Low hundreds | Removes chips and resets a badly rolled or damaged edge |
| Medium stone | Around 1000 | Everyday sharpening, raises the burr |
| Fine stone | Several thousand | Refines and polishes the edge after the medium stone |
| Honing steel or ceramic rod | None, or very fine | Pushes a rolled edge back into line between sharpenings |
| Leather strop | None | Strips the last of the burr after the fine stone |
Treat the grit numbers as a rough guide. A 1000 from one maker can feel quite different from a 1000 from another. Even the reference books concede that the numbering is loose: Wikipedia on sharpening stones
Preparing the Stone
Read what the maker says about water first. Some stones want a soak, some want a splash and nothing more, and a few are meant for oil. Do what the label says. Lay a damp towel on the counter and set the stone on it, medium side up. The towel stops the stone skating when you lean into a stroke, which matters rather a lot under a kilogram of cleaver. Keep the surface wet as you work, and leave the grey slurry where it is. It is doing part of the cutting.
How Do You Find the Right Sharpening Angle?
As general practice, many thin kitchen knives are sharpened somewhere around 15 to 20 degrees per side, and heavy cleavers and bone choppers are usually sharpened wider, often around 20 to 25 degrees per side or more. Those are common ranges, not a specification for any knife we make. We do not publish a factory grind angle for our knives. Hand forged blades vary a little from one to the next. A thin blade like the Orca 7" chef knife and a 7.6 mm thick chopper like the Rhino 8" Serbian cleaver were never going to share an edge geometry.
The honest way to find the angle is to match the bevel that is already there. It takes off the least steel. Color the bevel on one side with a permanent marker, set the knife on the stone at the angle that looks right and make two light strokes. If the ink came off evenly across the whole bevel, you have it. If it came off in a stripe at the top or at the very edge, adjust the height of the spine and try again until the whole bevel clears at once. Then memorize how that feels in your wrist. The longer version is in our knife sharpening angle guide.
How to Sharpen a Kitchen Knife on a Whetstone, Step by Step
- Set up. Prepare the stone as its maker says and set it on the damp towel, medium side up.
- Find the angle. Use the marker trick above until the ink comes off evenly.
- Work the first side. Hold the handle and rest two or three fingertips of the other hand on the flat near the edge. Push the edge across the stone, edge leading, with light, steady pressure, and hold the angle on the way back.
- Cover the whole edge. Split it into heel, middle and tip and give each section the same number of strokes, so the edge stays even instead of developing a wave.
- Check for a burr. Feel for it along the entire length on the side you were not grinding.
- Flip and repeat. Work the second side at the same angle until the burr flips to the first side.
- Refine on the fine stone. Repeat with fewer strokes and lighter pressure, raising a smaller burr on each side.
- Strip the burr. Finish with single alternating strokes, one per side, getting lighter each time, or a few passes on a leather strop with the spine leading.
- Test and clean up. Slice a sheet of paper. Then rinse the knife, dry it at once and wipe on a light coat of food safe oil.
How Do You Feel for a Burr?
The burr is the whole game. As you grind one side, the steel at the very edge gets pushed over to the opposite side as a thin lip, and that lip is your proof that the bevel has reached the apex. No burr, no sharpening, however long you have been at it. To find it, run a fingertip gently off the edge on the side you were not grinding, from the spine toward the edge and off it, never along it. A burr catches the skin slightly, like the rough edge of a fingernail. Check the heel, the middle and the tip, because it tends to show at the heel first and the tip last. Beginners sometimes decide it must be imaginary. It is not. It just asks for a slower fingertip.
How Do You Know When the Knife Is Sharp?
Hold a sheet of printer paper by one corner and slice down through it from heel to tip. A sharp edge takes a clean strip off the whole way without tearing. If it snags at one spot, that spot is still dull or still carrying burr. Set the edge on the skin of a ripe tomato with no pressure beyond the weight of the knife and draw it. A sharp blade bites and goes straight in. A dull one skates, then crushes. The same signs tell you a knife has gone off: it crushes skin instead of cutting it, bounces off a tomato, or drags through meat it used to fall through. Shaving arm hair is a party trick, and the Kraken 8" cleaver does not need to pass it to break down a chicken.
Serbian Chef Knives and Cleavers on a Stone
The method does not change. What changes is how the knife sits on the stone and how much of the pressing you do yourself.
Thin chef knives
A thin chef knife is light and the steel behind the edge flexes. The Orca 7" chef knife runs about 0.1" at the spine and weighs 260 g, and the Ironclad 8.7" chef knife is the same thickness with more length. Gravity is no help, so the fingertips on the flat do the pressing, and a thin edge rolls over if you lean on it. Lift the handle a touch as the curved tip reaches the stone to keep the bevel flat.
Tall Serbian chef knives
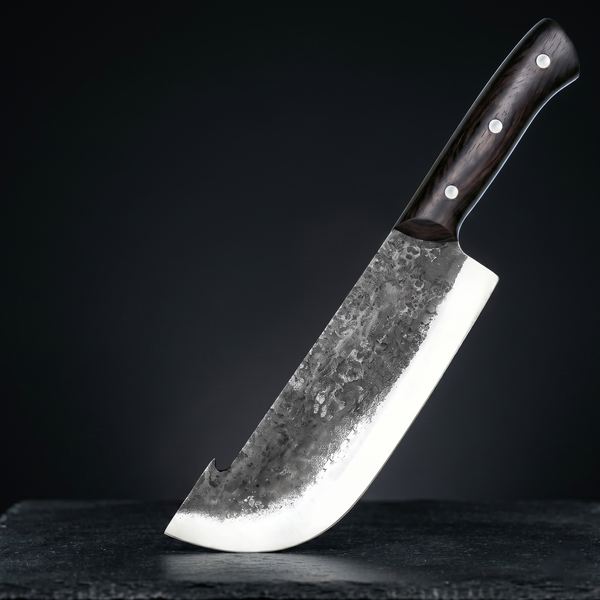
A Serbian chef knife is taller and heavier than a chef knife of the same length. The Kermode 7" chef cleaver weighs 349 g and the Chef's Kiss 7" Serbian chef knife 404 g, both on a 7 inch edge. The height helps. The spine sits well above the stone, so a wobble in your angle is easy to see, and the weight does part of the pressing, so ease off. The Kermode's edge is curved and built to rock, and a curved edge wants a sweeping stroke: start with the heel on the stone and sweep across while lifting the handle gradually, so the bevel stays flat as the curve rises toward the tip. Flat passes on a curved edge sharpen the middle and miss the heel and tip.
Cleavers
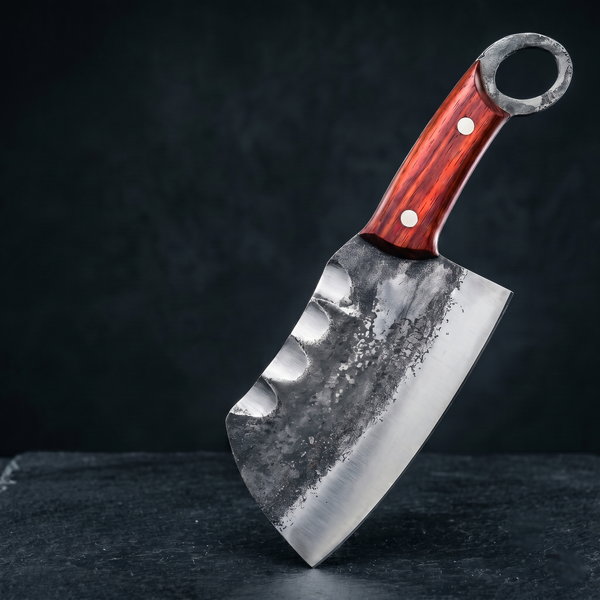
A straight cleaver edge wants the opposite. The Rhino 8" Serbian cleaver weighs 1250 g with a 0.3" spine, and the Mammoth 9.1" is heavier still. Lay the bevel flat, push straight across in heel, middle and front sections with the same count on each, and let the weight of the blade do nearly all the pressing. The Kodiak 8" butcher cleaver has a drop point, so it is flat passes along most of the edge and a slight lift at the front where the curve comes in. On all of them, only the bevel touches the stone. The hammer texture on the flats is finish, and grinding it off makes nothing sharper. Chip repair and the rest of the cleaver detail are in our guide on how to sharpen a meat cleaver.
Honing Between Sharpenings
A honing steel or ceramic rod does not remove much metal. It pushes an edge that has rolled over back into line. Stand the rod upright with its tip on a folded towel, hold the knife at roughly the angle you sharpen at, and draw the edge down the rod from heel to tip, alternating sides. Five or six light strokes a side is plenty. Hone first, every time. When honing stops bringing the edge back, that is the stone's cue.
What to Avoid
Pull through sharpeners are the big one. They grind at whatever angle the manufacturer chose, which may have nothing to do with the bevel on your knife, and they chew off far more steel than the job needs. A tall Serbian knife often will not fit the slot at all, which is the kindest thing that can happen to it. Bench grinders are faster still, and that is the problem. A grinder can overheat a thin edge in seconds and ruin the steel at exactly the spot you were trying to fix. The back of a ceramic mug works in a pinch on a cheap knife, and a hand forged blade should be kept away from pinches.
How Often Should You Sharpen Kitchen Knives?
It depends on what the knife cuts and what it cuts on. A chef knife used every evening on a wood or plastic board and honed now and then will go a long while between stones. Read the signs rather than the calendar: crushing instead of cutting, bouncing off a tomato, dragging through meat. Hone first. When honing no longer brings it back, sharpen.
Care After Sharpening
Rinse the knife as soon as you finish. Stone slurry is wet, grey and abrasive, and high carbon steel left sitting under it will spot before you have put the stone away. Wash by hand, dry it at once, and wipe on a light coat of food safe oil. No dishwasher and no soaking. The stone gets the same courtesy: rinse the slurry off, let it dry fully before it goes back in its box, and flatten it if the middle starts to dish. The full routine for the knife, patina included, is in our high carbon steel knife care guide.
If the blade in your hand is a cleaver, the cleaver specific method is in how to sharpen a meat cleaver, and the knives it was written for are in our hand forged cleavers collection.
Questions
What grit whetstone is best for kitchen knives?
A combination stone covers nearly everything. Use the medium side, often sold as around 1000 grit, for the actual sharpening and raising a burr, then the fine side, usually several thousand grit, to refine and polish the edge. A coarse stone in the low hundreds is only for grinding out chips. Grit numbers vary between makers, so treat them as a rough guide rather than a fixed standard.
How long should you soak a whetstone before sharpening?
Follow the instructions from the stone's maker. Some stones are designed to be soaked, some only want a splash of water on the surface, and some are made for oil. Soaking a stone that was not made for it can damage it, and splashing a soaking stone leaves it dry and glazed. Whatever the type, set it on a damp towel so it cannot slide while you work.
What angle should I sharpen my kitchen knife at?
Match the bevel that is already on the blade. Color it with a permanent marker, make two light strokes on the stone and see where the ink came off. When it clears evenly across the bevel you have the angle. As general practice thin kitchen knives sit around 15 to 20 degrees per side and heavy cleavers wider, but Xcutlery does not publish a factory angle for its knives.
How do I know when the knife is sharp?
Slice a sheet of printer paper from heel to tip. A sharp edge cuts a clean strip the whole way with no tearing or snagging. If it catches at one spot, that spot still needs a few strokes or has leftover burr. In the kitchen, set the edge on a ripe tomato with no pressure and draw it. A sharp knife bites straight in, a dull one skates and crushes.
Do I sharpen a Serbian chef knife the same way as a thin chef knife?
The method is the same, but the knife sits differently. A tall Serbian chef knife like the Kermode has a curved edge that wants a sweeping stroke with the handle lifted gradually toward the tip, and its weight does part of the pressing. A thin chef knife needs fingertips on the flat and lighter pressure. A straight cleaver edge wants flat passes in sections with the same count on each.
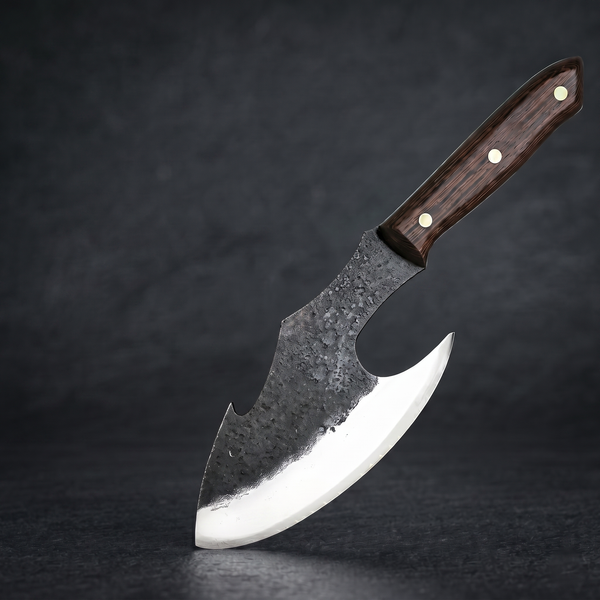
Shop the knives from this guide
Keep reading
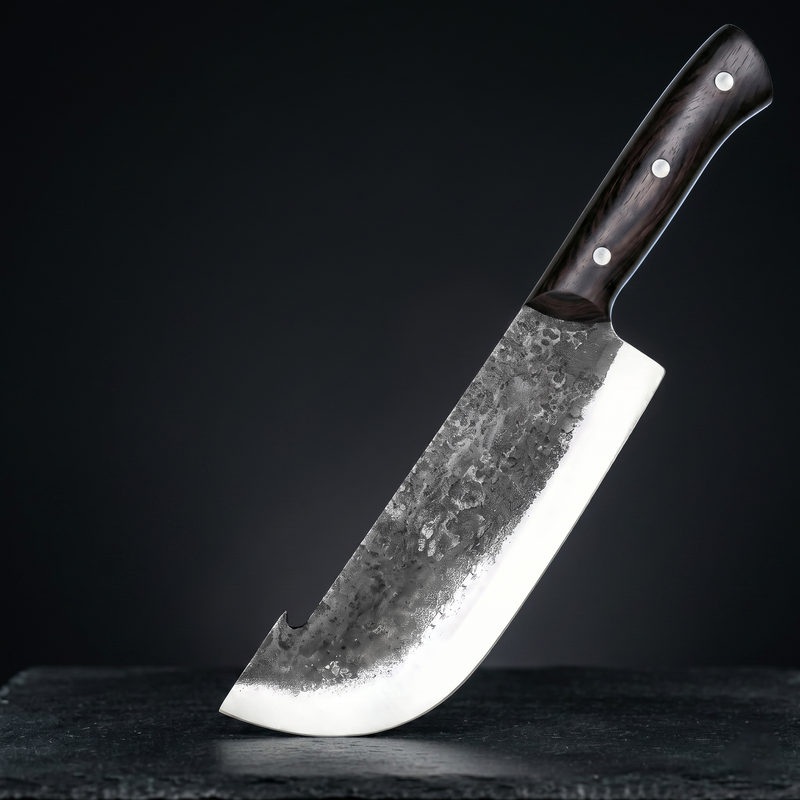
What Angle to Sharpen a Kitchen Knife: Chef Knives to Cleavers
Thin kitchen knives are commonly sharpened around 15 to 20 degrees per side and heavy cleavers around 20 to 25 or more, but the...
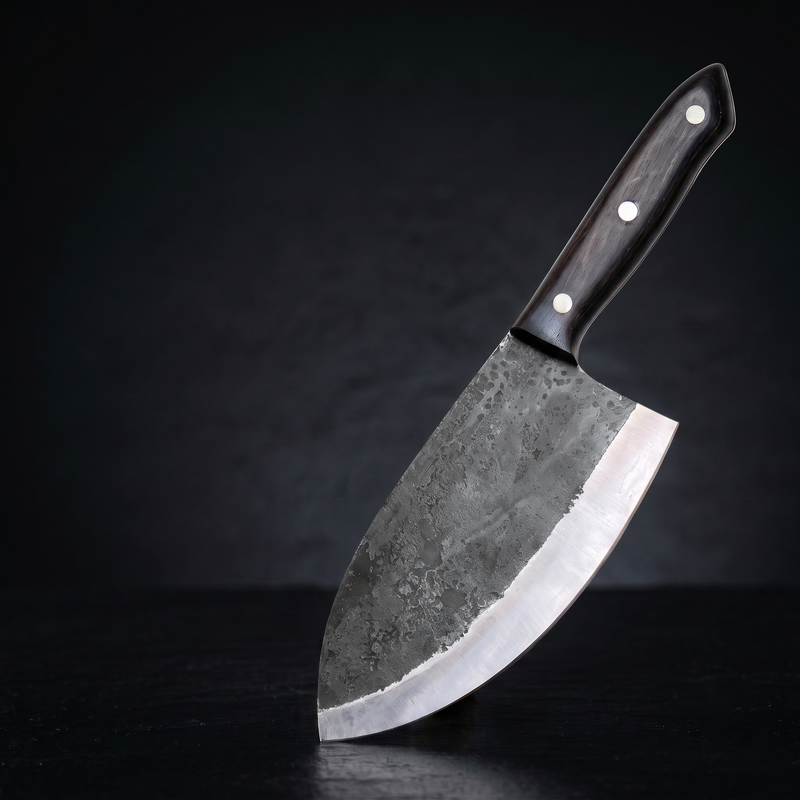
How to Sharpen a Meat Cleaver: Angle, Stones and Step by Step
A plain guide to sharpening a meat cleaver at home. Why a cleaver edge is ground differently from a chef knife, how to find...
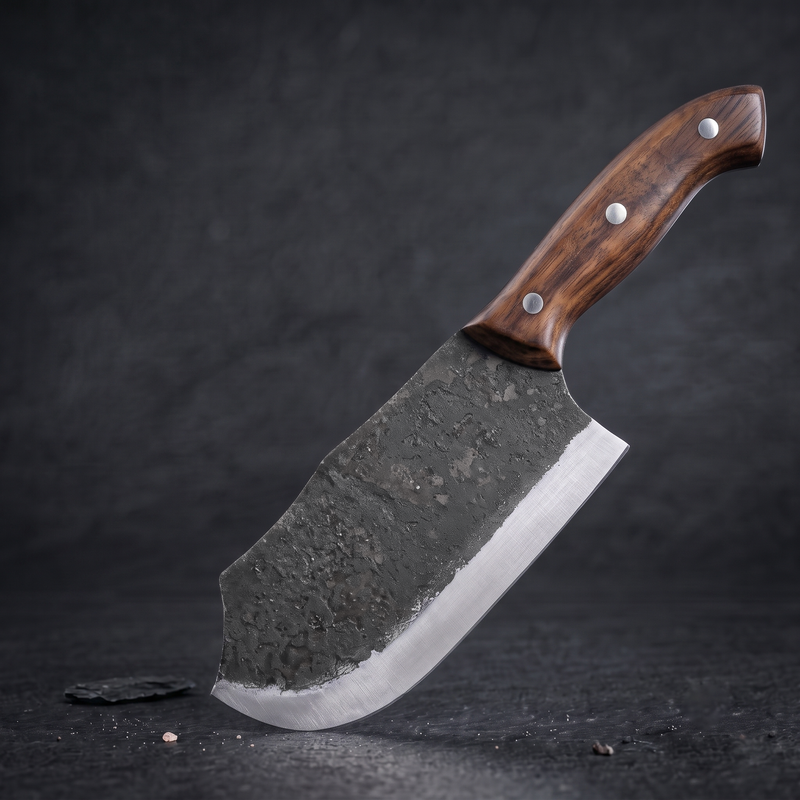
High Carbon Steel Knife Care: Rust, Patina, Oiling and Sharpening
High carbon steel rewards a simple routine. Here is how to wash, dry and oil a carbon steel knife, remove light rust, force a...