
Best Boning Knife for Deer: Processing Venison at Home
October 13, 2026 · By Matt
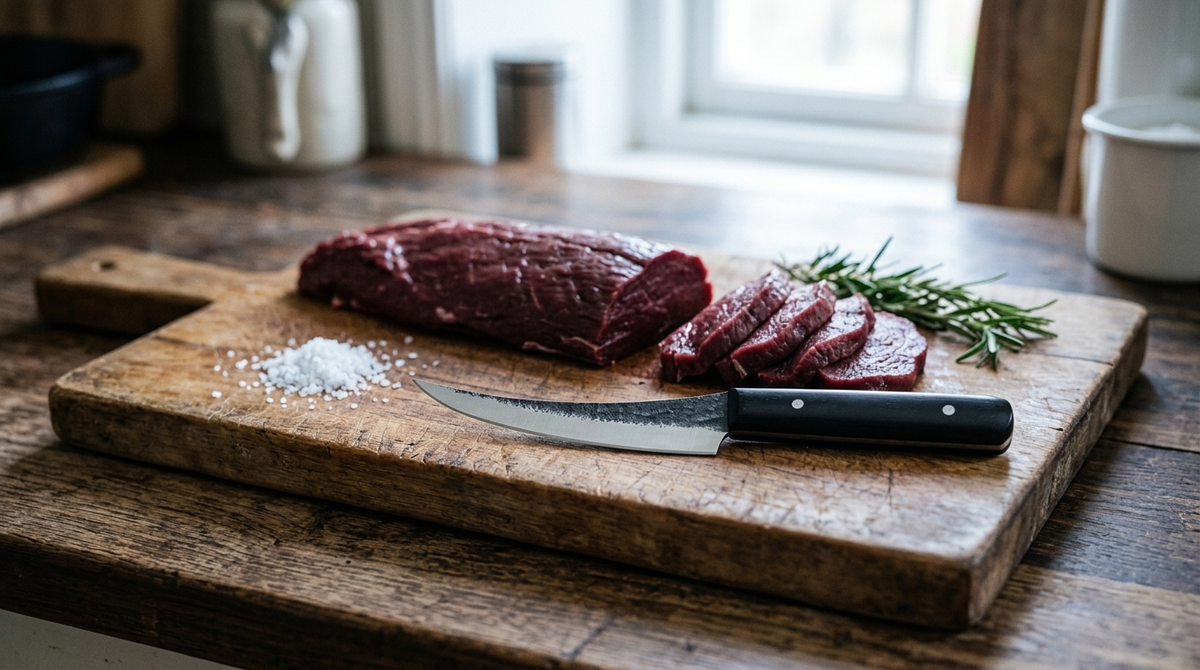
The best boning knife for deer is a firm, narrow blade of about 6 to 8 inches with a sharp point, like our Mako 7.5" boning knife. It does most of the work of turning a quarter into clean cuts. Add a cleaver for ribs, neck and shanks, and a small butcher knife for trimming, and you have a home processing kit that covers the whole animal.
Plenty of people process their own deer with one folding pocket knife and a lot of patience. It can be done. So can mowing a lawn with scissors. A proper kit saves an hour or two per deer, loses less meat to sloppy cuts and leaves you with steaks that look like steaks rather than something the dog would be proud of. This guide starts with the animal already skinned and quartered and works from there.
What Is the Best Boning Knife for Deer?
Venison processing is mostly boning work: taking muscles off bone and separating them along their natural seams. Very little of it needs force. It needs a blade that follows a bone without wandering and gets its point into a joint.
That points to a narrow, firm boning knife. A flexible blade bends nicely along a fish spine, but on a deer leg it wobbles when you want it to hold a line along the femur. A long, stiff, narrow blade has the reach for a backstrap and still gets around the ball joint at the top of a hind leg.
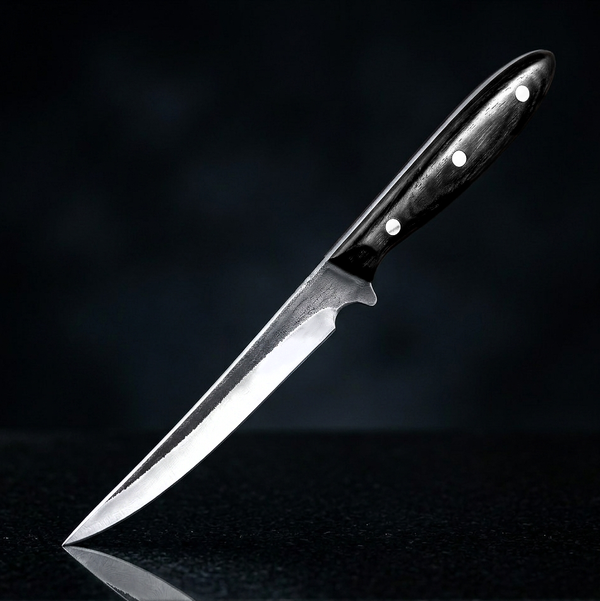
The Mako is the one we make for this. It has a 7.5 inch trailing point blade, a 5.2 inch black rosewood handle and an overall length of 12.7 inches, and it weighs 200 g. The trailing point keeps the tip up and out of the way when you scrape along a bone. It is hand forged high carbon steel, full tang with steel pins, and it costs $96. If you want the longer explanation of what a boning knife does in a kitchen, we cover that in what a boning knife is used for.
What Knives Do You Need to Process a Deer at Home?
A deer butcher knife set for home use does not need to be big. Most of the time you will reach for the boning knife, and the others come out for a few specific jobs.
The boning knife
The Mako does the seam work, the deboning and most of the silverskin. If you buy one knife for deer season, buy this one.
A small butcher knife for trimming
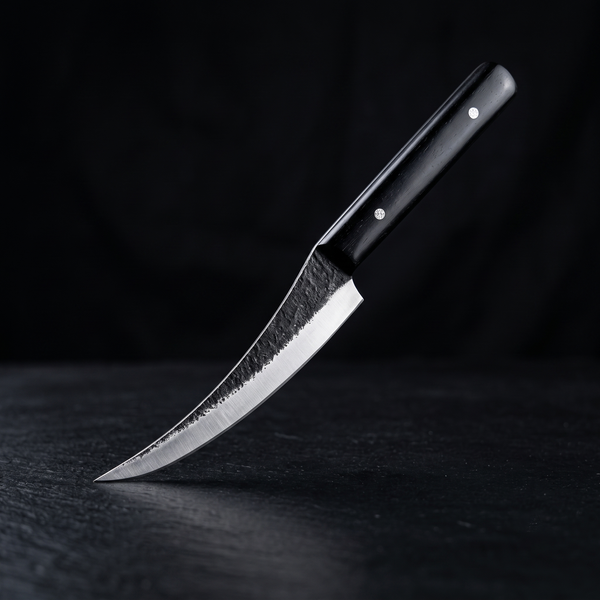
The Hellfang 5" butcher knife is a short blade with a 4.9 inch handle and a weight of 240 g, at $79. On deer it handles trimming fat, cutting away bruised or bloodshot meat and cubing trim for the grinder. A second knife also means you are not stopping to wipe the boning knife every two minutes.
A cleaver for ribs, neck and shanks
Some bone needs cutting. Ribs come apart for the grill, the neck can be cut into sections for slow cooking, and shanks can be cut across into pieces. The Kodiak 8" butcher cleaver (581 g, drop point, rosewood) and the Kraken 8" cleaver (380 g, black wenge) both work here. The Kraken is the lighter of the two and suits ribs and smaller joints. The Kodiak has more weight behind it and a drop point that still slices when you are done chopping.
A heavy cleaver for thick bone
For thicker bone, such as heavy neck sections or cutting shanks across, you want mass. The Rhino 8" Serbian cleaver weighs 1250 g with a 0.3 inch spine and a walnut handle, $138, and it is made to order, so allow 2 to 3 weeks before it ships if you want it before the season. The Grizzly 8.7" heavy duty meat cleaver weighs 1073 g with an olive wood handle, $147. Either one lets the weight do the work so your arm does not have to. One honest note: cutting a spine or a leg bone lengthways is a job for a meat saw. A cleaver chops across; it is the wrong tool for ripping along the length of a bone.
A slicer for later
The Mamba 11" slicing knife does nothing on processing day. It earns its place weeks later, when a venison roast comes out of the oven and the long straight edge slices it in one stroke.
You can browse the full range in our boning and fillet knives, butcher knives and meat cleavers collections. If you want the cleavers sorted for you, the Butcher's Trio puts three cleavers in one set.
How Do You Break Down a Deer Quarter?
What follows is a general overview, not a full butchery course. The principle is the same across the whole animal: find the seams between muscles, follow them with the boning knife, and lift each muscle out whole.
Set up first
Work on a large plastic or wood cutting board on a stable bench. Have trays or tubs ready for each category of meat: steaks and roasts, stew meat, and trim for the grinder. Keep a separate bin for bone, fat and anything you are throwing away. Keep a clean towel and a honing rod within reach.
Backstrap and tenderloins
The backstraps are the long loin muscles that run along either side of the spine on the outside of the back. They are the prime cut of the animal and most people take them off whole. Run the boning knife down along the spine on one side, then work the blade along the ribs underneath, peeling the muscle away as you go.
The tenderloins sit inside the body cavity, under the spine, and they are smaller. Most hunters take them out early because they dry out quickly if left exposed. They usually come away with little more than your fingers and a few light passes of the knife.
The hindquarter
The hind leg holds the most meat. It is made of several large muscles: the top round on the inside of the leg, the bottom round and eye of round on the outside, the sirloin tip at the front above the knee, and the rump near the hip. Each one is wrapped in its own thin membrane, and the seams between them are where the boning knife goes. Find a seam with your fingers, open it with the tip, and follow it until the muscle comes free. Then work the remaining meat off the femur, keeping the edge against the bone.
The shank below the knee is tough and full of tendon. It either goes to the grinder or gets cut into sections with a cleaver for braising.
The front shoulder
The front shoulder has more connective tissue and smaller, more tangled muscles than the hind leg. Many people bone it out for stew and grind, or leave it whole on the bone as a slow cooked roast.
Neck, ribs and trim for grind
The neck is either boned out for grind or cut into thick sections with a heavy cleaver for slow cooking. Deer ribs carry little meat, so most of it gets trimmed off for grind, though some people split the ribs into sections for the smoker. Everything else, the small pieces, the scraps from seaming and the meat around the joints, goes into the grind tray after you trim off fat, silverskin and anything bloodshot.
How to Remove Silverskin from Venison
Silverskin is the thin, shiny membrane that covers many muscles, especially the backstrap and the rounds. It does not melt when cooked. It shrinks, curls the meat and turns chewy, which is a poor reward for all the work you just did.
Removing it is a boning knife job:
- Lay the muscle on the board with the silverskin facing up.
- Slide the tip of the Mako under the membrane near one end, and cut a short tab of silverskin free.
- Hold the tab with your other hand, angle the blade very slightly upward toward the membrane, and push the knife along with the edge riding just under the silverskin.
- Pull back gently on the tab as you go. The tension lets the blade slide along the membrane instead of diving into the meat.
A sharp, narrow blade matters here more than anywhere. A dull knife tears the membrane and leaves strips behind, and a wide knife takes meat with it. Fat on venison should come off as well. Unlike beef fat it does not add much to the flavor, and many people find it tastes waxy or strong.
How Do You Keep Venison Cold and Clean While Processing?
Temperature matters more than technique. Keep the meat cold the whole time you are working. If the room is warm, process one quarter at a time and leave the rest in the fridge or a cooler with ice, kept out of the meat water. Put finished cuts back in the cold as soon as they are trimmed rather than letting them pile up on the bench. Utah State University Extension says to keep venison cold while it is cut and wrapped, and to hold wrapped cuts at 40°F or lower: USU Extension venison guide.
Wash the board and your tools before you start and again when you finish, and trim away hair and bruised meat as you go. Package the meat as soon as it is cut, label it with the cut and the date, and get it into the freezer.
One rule for the season: once it is frozen, leave it alone until it thaws. Never cut frozen venison with a boning knife or a cleaver. Frozen meat and frozen bone chip edges, and a chipped boning knife is a bad tool for the silverskin you still have to remove.
Deer Processing Knives: Job by Job
| Job | Knife | Xcutlery knife |
|---|---|---|
| Taking off the backstrap | Long, firm boning knife | Mako 7.5" |
| Separating hindquarter muscles along seams | Boning knife | Mako 7.5" |
| Removing silverskin | Narrow boning knife | Mako 7.5" |
| Trimming fat and bloodshot meat | Small butcher knife | Hellfang 5" |
| Cubing trim for the grinder | Small butcher knife | Hellfang 5" |
| Splitting ribs into sections | Medium cleaver | Kraken 8" or Kodiak 8" |
| Cutting neck and shanks into sections | Heavy cleaver | Rhino 8" or Grizzly 8.7" |
| Cutting spine or leg bone lengthways | Meat saw | None, use a saw |
| Slicing a cooked roast | Long slicing knife | Mamba 11" |
If you are new to swinging a cleaver, our guide on how to use a meat cleaver covers grip, stance and keeping your fingers where they belong.
Caring for Your Knives After Processing a Deer
A day of processing leaves your knives coated in blood and fat, and high carbon steel does not like being left that way. Blood in particular will mark the blade if it sits. Do not leave them in the sink overnight while you recover on the couch.
When you finish, wash each knife by hand in hot soapy water, paying attention to the area where the blade meets the handle. Dry it at once with a clean towel, then wipe a light coat of food safe oil over the blade. No dishwasher and no soaking. A grey or blue patina will build up over time, which is normal and helps protect the steel. Orange rust is not normal, and it should be wiped off early before it settles in.
Hone the boning knife after the job so it is ready for next time, and check the edge before the next deer comes in. Every knife we make carries a lifetime warranty against defects in materials and craftsmanship.
For the rest of the meat in your freezer, including the beef and pork, our guide to the best knives for cutting meat covers which blade suits which job. And when the ribs and neck come out, the cleavers collection has the weight to deal with them.
Questions
What size boning knife is best for deer?
A firm blade of about 6 to 8 inches suits most deer processing. It has enough reach to take a backstrap off in long strokes and is still narrow enough to turn around the hip joint. Our Mako has a 7.5 inch trailing point blade and weighs 200 g, which makes it a good all day knife for a deer.
Should a deer boning knife be stiff or flexible?
Firm is better for deer. A flexible blade bends well along a fish spine, but on a deer leg it wanders when you want it to hold a line along the bone. A stiff, narrow boning knife follows the femur and the seams between muscles cleanly, and it gives you more control when you are removing silverskin from a backstrap.
What knives are in a good deer butcher knife set?
Start with a firm boning knife, which does most of the work. Add a small butcher knife for trimming fat and cubing meat for the grinder, and a cleaver for ribs, neck and shanks. A heavy cleaver helps with thick bone. A long slicing knife is useful later for cooked roasts. Cutting a spine lengthways still needs a meat saw.
Can I use a cleaver to split deer bones?
A cleaver works well for chopping across ribs, neck sections and shanks. A heavy cleaver like the Rhino or Grizzly lets the weight do the work. It is the wrong tool for cutting a spine or a leg bone lengthways, which is a job for a meat saw. Never chop frozen bone with a cleaver, because it chips the edge.
How do I clean my knives after processing a deer?
Wash each knife by hand in hot soapy water as soon as you finish, paying attention to where the blade meets the handle. Dry it at once and wipe on a light coat of food safe oil. Do not use the dishwasher or leave the knives soaking. Blood and fat left on high carbon steel will mark the blade.
Shop the knives from this guide
Keep reading
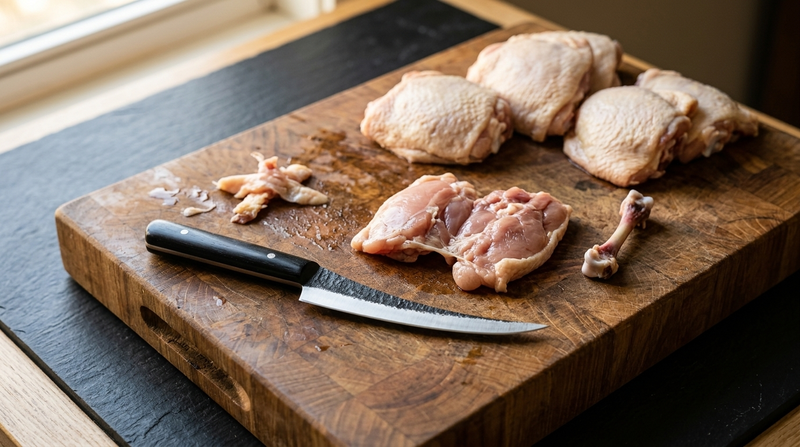
What Is a Boning Knife Used For? Jobs, Sizes and When to Skip It
A boning knife is the narrow, pointed blade that takes meat off the bone without wasting it. This guide covers the jobs it is...
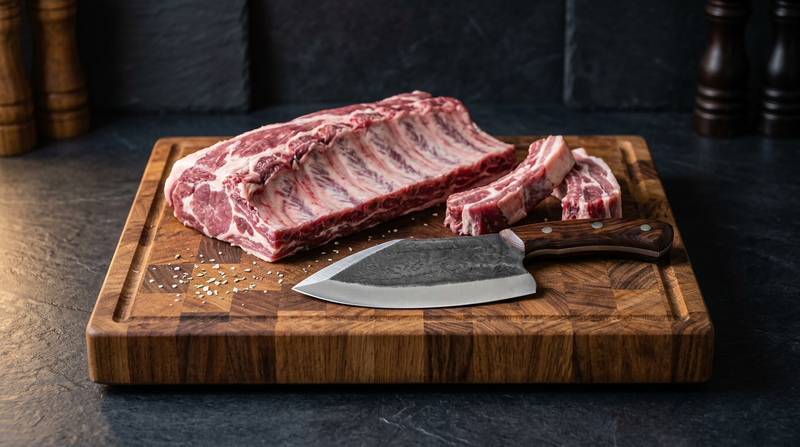
Best Knives for Cutting Meat: Which Blade for Which Cut
The best knife for cutting meat depends on the cut in front of you. Bone wants a heavy cleaver, trimming wants a small butcher...
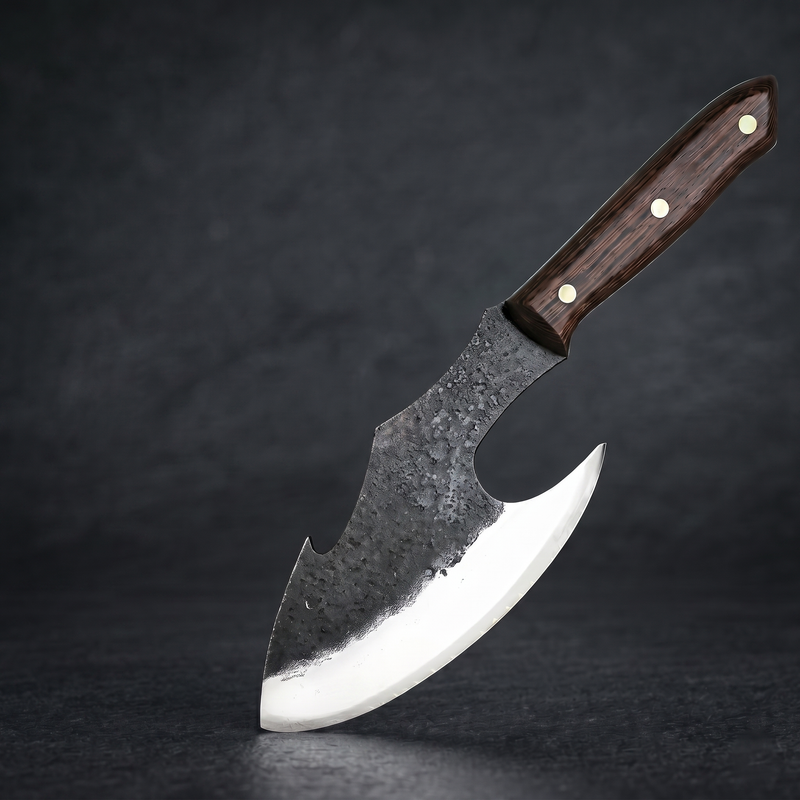
How to Use a Meat Cleaver: Grip, Chop and Keep Your Fingers
A practical guide to using a meat cleaver: the handle grip and pinch grip, what the finger hole is for, setting up a board...